How To Personalise Your Bunting with Iron On Letters
- 23rd Dec 2024
- By
Personalising bunting with a loved one's name, a special date or place or with a message couldn't be easier. We have put together a step by step video to show you how!
Simply click the video to watch our guide and follow our simple steps to creating the perfect personalised bunting!
Alternatively you can follow the steps below and create your own personalised named bunting.
Step 1:
- You will need :
- Cotton Bunting in your choice of design
- Iron On Letters (buy from eBay, Etsy or your favourite craft store)
- Brown Grease Proof Paper
- Iron (set to the cotton setting)
We used our classic pure white bunting as we wanted our Liberty inspired letters to really standout.
Step 2:
- Unravell bunting and find the middle point
- Once you have your middle pennant lay out the letters on the bunting making sure the spacing is even across the length.
Tip - We put the middle letter down on the middle pennant first and laid letters out from this point.

Step 3:
- Take brown paper and measure the centre point on the pennant. Mark onto paper. Mark the edges of the bunting to create yourself a simple template.
Tip – use this template to make sure each letter is centred on the pennant.
- Using brown paper template iron each letter onto bunting, making sure all edges are firmly affixed.
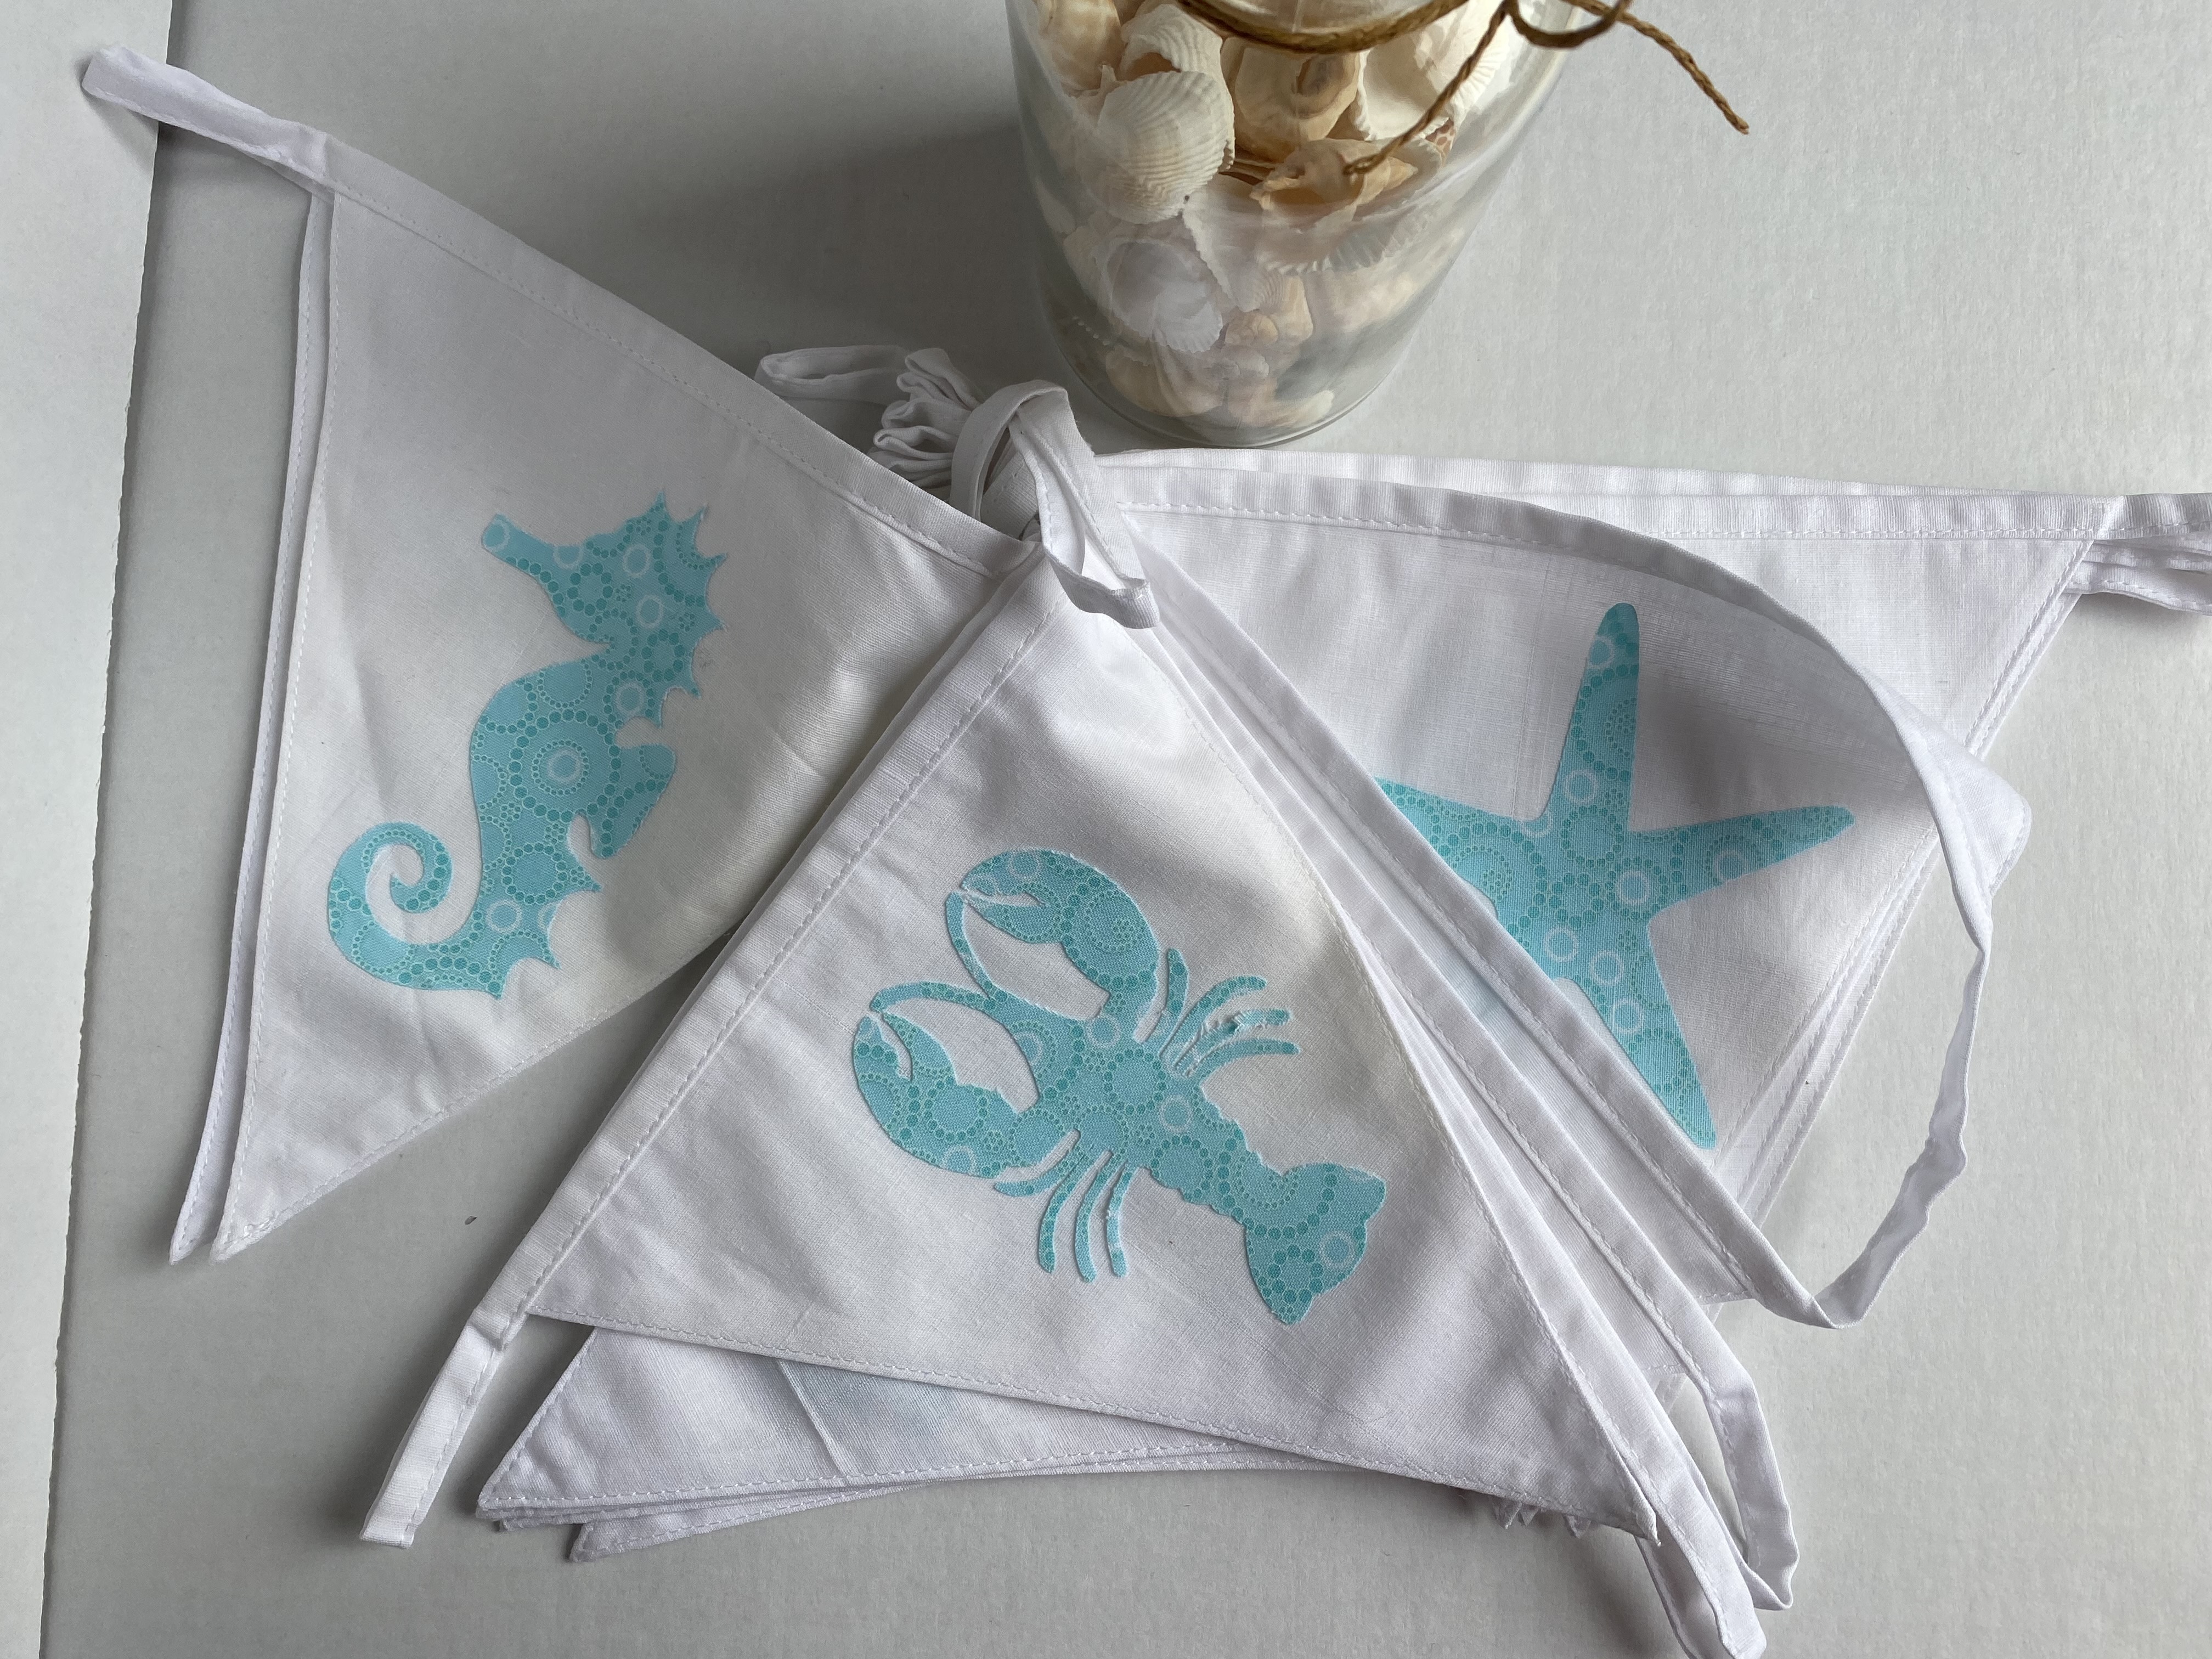
You can personalise your bunting with anything you choose! We just love this seaside themed bunting.